Sunday, 5 October 2014

The Re-Roofing of my Cupola


Remember seeing this beauty?


Well, two things happened.


1) After a couple of years with this plastic tinlook sheets that I used for roofing, began to fade and crack!


And 2) My birthday rolled around again. What that means is my Hubby does not give me gifts, he gives me himself for the day. I get to ask him to do whatever I want and he does it. So I asked him if we could re-roof the

Wednesday, 1 October 2014

Diwali DIY Made Easy With Venue: Wall Hanging DIY

This month I will be focusing on Diwali craft and decor ideas only. In previous post you learnt how to make a Diwali Lamp. In today's tutorial you will learn how to make beautiful wall hanging using mundane objects. These hangings add charm to your walls for sure. The best part is that it's very easy to make these hangings. It took me only an hour to complete the project.

Diwali Wall Hanging

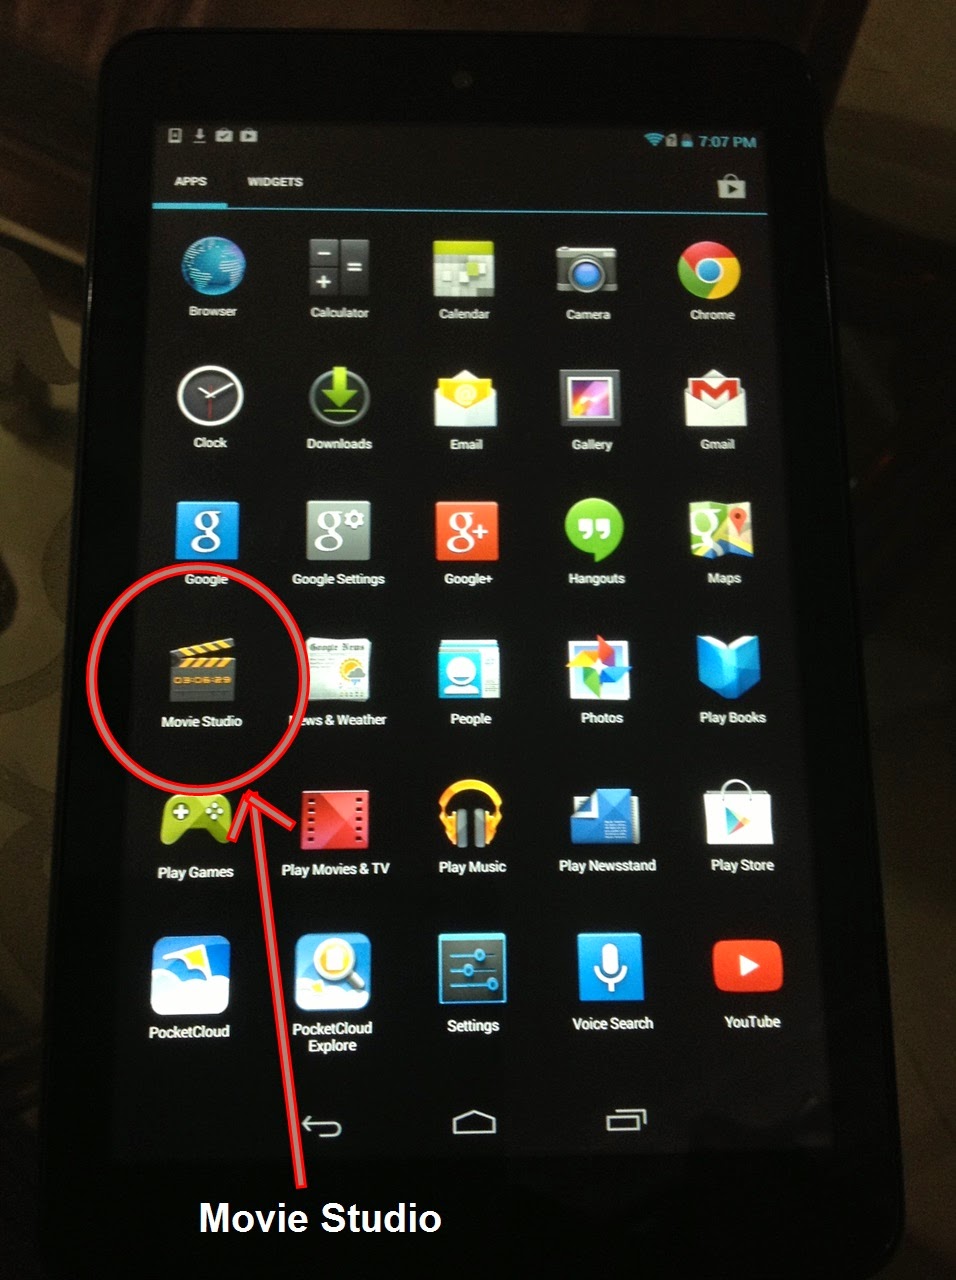
Dell's venue tab has made my work easy. I clicked all the images of this DIY with Venue tab and then I made a video using its wonderful application called 'Movie studio' in no time.

Diwali Craft Ideas Using Dell Venue

Here my movie is in progress..........

Diwali Craft Ideas Using Dell Venue

Below is the complete video tutorial on how to make wall hanging. Enjoy!!


Stay tuned for some more Diwali Decor ideas in my next post!! 


Jazzed-Up Acorns!


Talk about 


Cute


 And 


Fun!


This all started when I visited my friend. Upon arriving, I noticed that her acorns were huge compared to mine...


That got me to thinking how fun it would be to create some cute but various ways to Jazz-Up her acorns.


First, I washed them and put them on foil, then on a cookie sheet. I baked them at 170 degrees for about 2 hours to make

Sunday, 28 September 2014

Our New Great Room ...

Greetings, friends!  

Here we are ... in an empty great room ... just as it looked right before we moved in:


And, here we are AFTER!  Welcome to our new great room ... all ready for Fall!  One of the first things we did was to have the hardwood continued in here.  It's all throughout the rest of the first floor, so, we decided to bite the bullet and had it done right after we moved in (by the same company who installed the hardwood on the rest of the entire first floor) ... this way, we knew we were getting the same "dye lot" as the rest of the rooms.


Do you ever let your rooms "speak to you" to let you know how they want to be decorated?  Well, I do ... annnnnd, apparently, this space told me that it wanted for me to trade out our wheat colored sofa for a white EKTORP sofa from IKEA ... to add white/beige buffalo check curtains (also from IKEA), along with bamboo roman shades ... and to throw in black accents!  


Colorful "Fall" pillows from Kirkland's (mixed with white/burlap trim pillows and a single burlap pillow from Pottery Barn) warm up the sofa.  An inexpensive throw (from IKEA) adds just a little bit of texture (and warmth on our now chilly mornings).


Simple Fall stems in a glass demijohn stand loud and proud on the sofa table.  And, I couldn't help but flank it with two chunky matching wooden corbels from Home Goods.


I traded out our gold and glass coffee table for our wooden one (from Pottery Barn) to help with the warm and cozy feeling I was going for in here.  (Again, the room "told" me to do this)!


And, here's our "revamped" Fall mantel (yes, I changed it again)!  


I love how crisp the black and white are together, paired with the beautiful colors of Fall.  And, because of this new color palette, I have a feeling I'll simply have to try my hand at a Halloween mantel this year, too!


Moving on around the room, you'll spy our TV ... the builder added an outlet and cable box above the fireplace, BUT, I'm just not a fan of having the TV over the fireplace if I can help it ... you guys know that I "need" that space above the mantel to be able to decorate!


I covered our torn up ottoman top with burlap and threw another comfy throw from IKEA on there ... it's all about the layers during the upcoming months, isn't it?


After looking and looking and LOOKING for nice black and white photos to frame, I turned to one of our "coffee table" books, which had pictures that I love!  Yes, I removed certain pages I wanted to frame (shame), BUT, I look at it as though now I'm showcasing the beautiful pictures instead of hiding them.  


I carried the buffalo check pattern to the other side of the room by folding extra fabric over the back of one of the wing chairs ... of course, I had to add an orange faux pumpkin and black book to balance the colors around the room!  


And, when you're sitting in that wing chair, this is your little ol' view ...


Of course, I had to mirror the photos that I did on the other side of the room on each side of our window.  It's all about "OCD balance" folks.


Just for grins, let's look again: 


AFTER!


Thanks for stopping by!

post signature

Saturday, 27 September 2014

Diwali Craft Tutorial - Lantern

As I promised to post a Diwali craft idea in my last post, so here I am with a talented guest today on my blog who will be sharing an awesome Diwali craft tutorial. Welcome Suprita Shetty,  please let us know something about you.

Suprita: Hi!! I am Suprita Shetty from Pune. However since past 5 years I am living in Doha. I am an air hostess in one of the leading airlines. My hobby is dancing actually but ,whenever I get some spare time I try my hand on some creative stuff. However this is the first time I tried my hands on making the lantern. Here the steps are:


Diwali Craft Tutorial


1) Take a jute mat roll which u can easily get from a bouquet shop/stationery shop.
2) Roll it according to the length and thickness you want. I made it 40cms long and rolled it 4 times.

Diwali Craft Tutorial

  • 3) Staple the ends and use glue to stick it lengthwise.
    • Diwali Craft Tutorial

    • 4) Use any of the cardboard sheet to stabilize the roll. Cut it around 2-3 cm thickness and staple it inside the base and the top of the roll.
  • Diwali Craft Tutorial

  • Just like this.
  • Diwali Craft Tutorial

  • 5) Now steps to make butterflies. Take a chart paper of your choice of colour in square shape.
  • Diwali Craft Tutorial


    6) fold it's corner (like a triangle). Just like the below pic.
  • Diwali Craft Tutorial

  • Like this
  • Diwali Craft Tutorial


  • Diwali Craft Tutorial


  • Diwali Craft Tutorial

    It will look like this after folding it the way I showed above.
  • Diwali Craft Tutorial

  • Now take the edges of rectangular sheet and fold it inwards on both sides
  • Diwali Craft Tutorial

  • Now fold it exactly half and now you will get a small triangle.
Diwali Craft Tutorial


  • Now cut the corner of open side of this small triangle and make rounded. Now turn it upside down. Rounded corner that you just cut should be facing upwards. Now the important part, you need to fold the rounded corner as I shown below.
  • Diwali Craft Tutorial
  • Now fold the remaining part as shown in image below and cut two thin and small stripes of paper to make antennae of butterfly. Now paste these butterflies on the jute roll in random manner or as you like it.

  • Diwali Craft Tutorial
    You can add any decorative item as per your choice and then put LED bulb and see it adorning corner in your home.
  • Diwali Craft Tutorial


  • --------------------------------------------------------------------------------------------------------------------------------------------------------------------------------------------------------------------------------
Whoa!!! That's great Suprita. I am sure lot of my readers will enjoy making this for Diwali. It's an easy-peasy and very beautiful Diwali craft idea. I am definitely going to try this. Thank you Suprita for sharing this lovely tutorial on my blog :)

Now a tip from my side: Try to make it in different colour and size and display them in a corner/on mantel/on side table. They will add instant cheer to your space. 

Well do try making this lantern and get ready to celebrate Diwali Carnival on my blog with lot of other inspiring friends across the globe. Link party will be live next week. 
Have a happy and creative weekend :))


Ruined Art?...Make New!


What do you get


 when you mix a little boy


 with dimensional art? 


Initially, I had made this dimensional art (below) 

for a friends new home...


I simply took blank canvas' and after painting with acrylic paint, I glued on the plastic flowers in various sizes. It's up in the kid's living room and it became a game of "hit the art with balls and see how many

Thursday, 25 September 2014

Inspiring Eminent Artist: Eesha Kolli

Festive season is here and I bring to you a post exclusively on handmade cards. Don't you love sending cards to your dear ones on special occasions. When I was kid I used to send cards to all my dear ones on festivals and on their birthday too but I never bought a card from market I always preferred handmade cards and I still prefer handmade stuff. So today on Design Decor & Disha I have pleasure to introduce you to an artist who makes beautiful cards for every occasion. Each card is unique and beautiful. Welcome Eesha Kolli,  please let us know more about you: 

Eesha:
Thank you so much Disha for giving me the opportunity to share my art with your readers.

Paper Craft


About Me
I am married to a wonderful and very supportive man. I am currently living in New Jersey, USA. I hail from Andhra Pradesh, India. I am an IT consultant by profession. However, my innate passion for art and crafts has made me grow into a freelance ‘Pencil Portrait’ artist, Mixed Media artist and Storyboard artist. I enjoy getting my hands on any of these - 'Card making, Designing, craft making, sketching, doodling or painting with any medium'. That’s my ‘Love For Art in Many Forms’

Paper Craft
Love Birds Card


What drew me into Card making:
I have developed a great interest in Handmade Greeting cards lately and have been working on them since 2012. A wide array of tools, colours and techniques involved in card making, probably, drew my attention. You could apply almost any technique, use any medium of art and make a greeting card. Handmade cards reflect the personality of the artist. Handmade cards reflect the time, effort, thought, planning, wishes, exclusivity and creativity that you have undertaken for the person you want to greet. They are unique and not one in a lot of hundreds or thousands. Card making is not time consuming like many art forms, with right tools in hand. For a working woman like me, this is an advantage.

Paper Craft
Anniversary Card


My blog and Me
‘Love For Art in Many Forms’ has been started in June 2012, with the idea to showcase all my crafty creations which involve paper as a medium. It is a great way to connect with fellow crafters and also participate in multiple challenges.
I was able to make it into several design teams through this blog. This is the point where I draw all my inspiration from.

Paper Craft
Long Distance Relationship Card


What are the tools I use for card making
There are a plenty of tools that I use for card making. Paper trimmers, punches, stamps, ink pads, heating and embossing tools, knives, water colours, copic markers and several kinds of adhesives are a few to mention.

Paper craft
Colourful Best Wishes Card


My Inspiration
Anything colourful and striking inspires me. I visit the kwernerDesigns and  RaspberrySuite blogs very often, as these women inspire and motivate me like no other. Pinterest is another important source of inspiration for me.

Paper Craft
Vintage Birthday Wishes


Where to find my art work
All my art work can be found on my art blog  ‘Love For Art in Many Forms’ primarily. I also have a Facebook page andPinterest board where I post my cards regularly. I will be more than happy to get connected over an email (illokashee@gmail.com)

Paper Craft
Colourful and Bright Card


Other interests apart from Card making
I love interior designing and party ensembles. I browse through various websites and blogs to observe the trends. I’m particularly interested in Ethnic Indian interiors and ‘Design Décor and Disha’ is one of those blogs to go to.
I also do some freelance party decorations and pencils portraits.

What I Aspire to be
I constantly dream and work towards turning into a designer for cards and party ensembles. I’d love to see my brand of cards deck the galleries and stores.

--------------------------------------------------------------------------------------------------------------------------------------------------------------------------------

So if you are planning a party or want to send love to your near and dear ones or may be just want to express your feelings in beautiful and unique way, now you know to whom you should approach. Thanks Eesha for inspiring us I wish you a great success ahead!!

Stay Tuned friends next post will be on Diwali Craft Ideas!!

P.S: All images are provided by Eesha and are subject to copyright!!