Saturday 30 June 2012

Indian Art: Lippan Work(Gujarat & Rajasthan Art)

Today I'm sharing with you is a decorative art form of western India. Lippan Kaam, Mud Relief Work or Mud Mirror Work is done inside huts in Kutch in Gujarat.  Lippan work is done mainly by women of Rabari community of Kutch. Women are so expert that they don't even trace or draw motif on wall.
The mud is prepared  by mixing clay with camel dung(as a binding agent as it contains fibers) and then kneaded with water. Glue is used to stick mirrors of different sizes and shapes like triangle, diamond, round and sometimes embroidered mirrors.
Work is usually done inside the huts called bhungas. These huts are made of mud and are known to be earth quack resistant.
If you want to explore more about this art click here. It's a very informative and interesting article.

Image Source: Click Here


Image Source: Click Here


Image Sorce: Click Here

Image Sorce: Click Here

Image Source: Click Here

Soon I am going to do this lippan work in my home too (lots of incomplete project in a queue though). It looks so ethnic. and Indian. I totally love this work.
Have a wonderful weeekend and stay creative freinds!!

Thursday 28 June 2012

Old Settee Breathes New Life!

You probably didn't even miss me, but we have been gone to Vegas Baby!


If you are ever going and can catch a show, you should see Terry Fator! He won America's Got Talent in 2008 and puts on a really well done and funny show.


On with the Settee project...


Before we left, I was working like crazy on our new MUD ROOM that I will show you later, however for now, I will show you how I

Saturday 23 June 2012

Germany to America


In celebration of my ancestors, I designed my mantel to show the journey from Germany to America!


In 1910, my Great, Great Grandparents and their 5 children left Mosbach, Germany and sailed on the S.S. Lapland heading to Ellis Island in America.


At the time, my Great Grandmother was 10 years old. In this picture below, My Great Grandmother is pictured with her five children. My

Friday 22 June 2012

When Creative Juices Flow: DIY Stained Glass Jars & Bottles

Never miss any update from my blog like my Facebook Page Click Here!!

When I moved to my new haven I carried along all the stuff that I've hoarded over the years and that I wanted to turn into treasure, like empty glass jars and bottles, cardboard boxes, cans and plastic containers :-o Then husband advised, rather ordered to give all that away to our maid and reluctantly I did it. Guess what ;-)) me being me I gave away only half of the junk and kept back rest of it for my DIY projects. 
I was pondering over at what do I do with these glass jars and bottles and googled  number of times and I found some wonderful inspirations. Then ideas started flooding in my mind and I made lot of stained glass bottles and jars and used them in every possible way. It's a good project for Diwali also. You can make lot of lanterns for Diwali and can hang then in balcony/terrace or in your garden with LED tealight inside it. Check out some more Diwali Craft Ideas click here & here.

I used it as a Vase : It looked beautiful.

http://designdecoranddisha.blogspot.com

http://designdecoranddisha.blogspot.com


 As Lanterns: 


 It looks beautiful in the night.


As a Planter: 


Grow plants like money plant or any other plant that can grow in water.


As a Pen & Brush Holder: 


Being an  artist how can you forget your brushes. They also deserve some nice place to sit in.


Tutorial

Now here's a step wise tutorial for dear readers.
1. Take an empty glass jar or bottle.
2. Wash and let it dry. You can wipe it with spirit afterwards to remove any trace of soap.
3. Take a glass painting color of your choice and paint outside of the bottle with sponge brush.
4. Let it dry for 24 hrs. Though I was impatient and waited only for 3-4 hrs.
5. Use 3D outliner to make outlines and then let it dry.
6. Fill glass colors of your choice inside the 3D outlined design. Let it dry.
7. Alternatively you can skip step 5 & 6 and can use pearl/shimmer color to directly paint on stained glass or bottle as I did in peacock feather patterned jar.

Here you go. Your Stained glass jar is ready. Imaginations and possibilities are numerous, use your creativity.

http://designdecoranddisha.blogspot.com

P.S : -
1. If your brush strokes are visible on glass jar and finishing is not good try this trick, pour small quantity of  glass color in the bottle and swirl it inside the bottle until color spreads entirely. Keep the bottle over turned on paper/towel and let it dry. Wipe off extra color from the rim.
3. You can use acrylic color also and using mod-podge you can stick object of your choice. I stuck peacock feather (refer image 2).
2.  For glossy finish and durability apply a coat of varnish on finished product and let it dry.

Hope you enjoyed this tutorial. Let me know your views and opinion.... leave your comments.
Have a wonderful weekend and stay creative.


Monday 18 June 2012

Summer Mantel

Happy Monday, friends!  Can you believe that summer officially starts in three days ?!  This year is flying by!

I've been busy, busy continuing to refresh my parents' home and look forward to posting more pictures soon.

For now, I thought I'd share our summer mantel.  And, I'm sure you're not surprised one bit that it has a coastal theme to it!  You *might* even notice that the wall color has changed, too! 


Starting on the left ... I kept the soft, white flowers in our cream vase, but added Manzanita branches for a bit of depth, texture and coastal feel:


I found this cute boat at Home Goods ... I like the neutral color, vintage look and how it pops against the mercury candle holder in the background: 


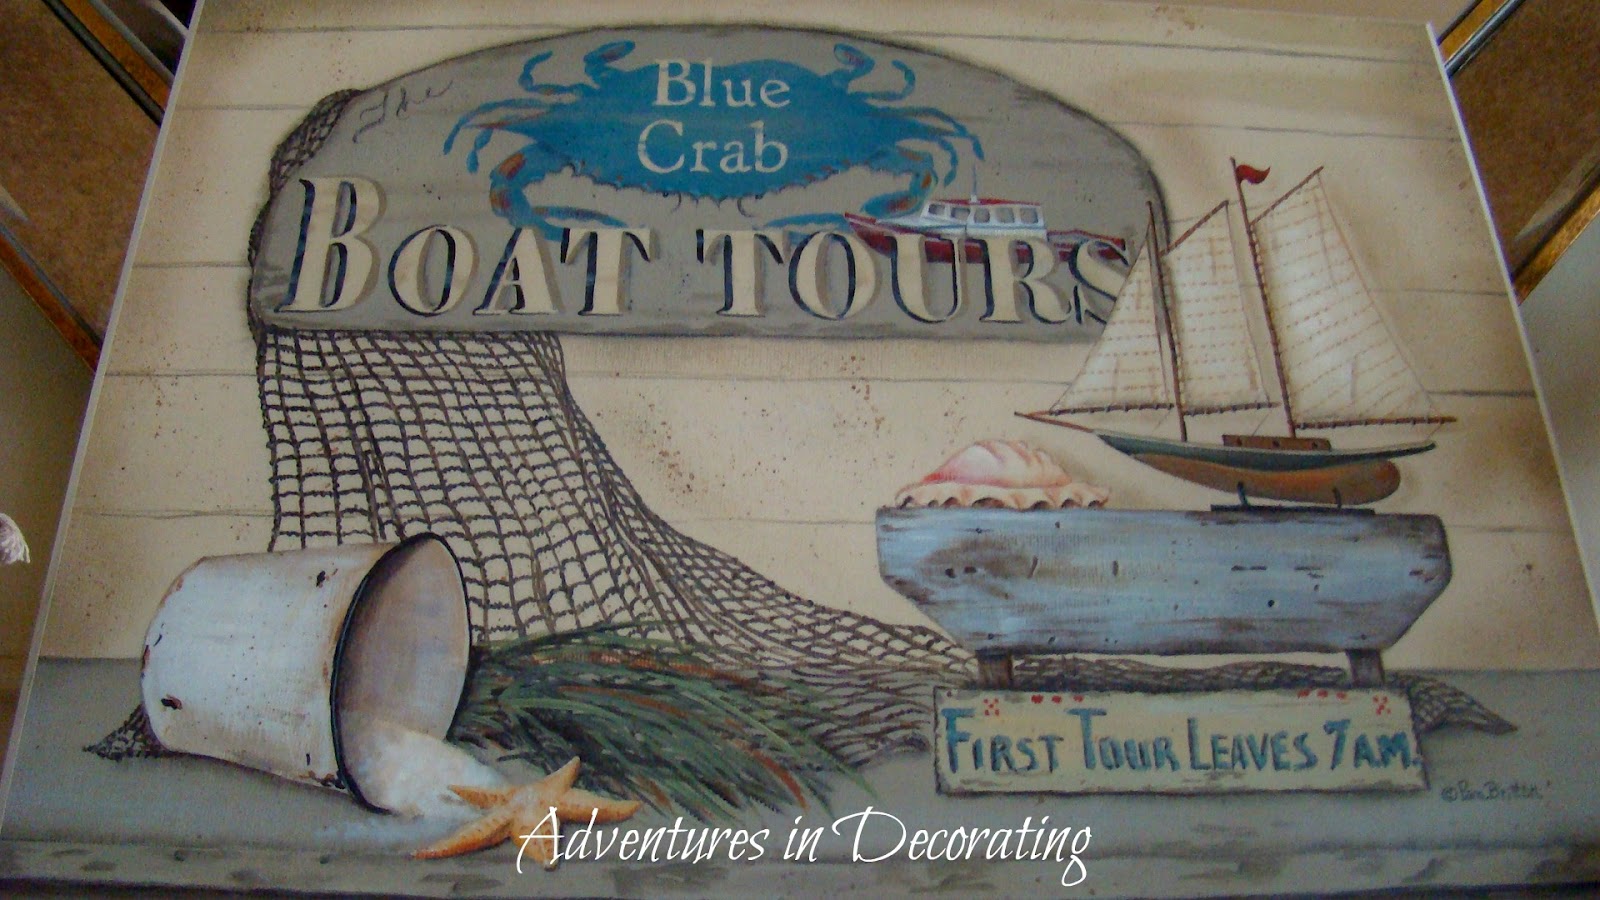
This whimsical print is from a local store ... love that it adds a pop of blue right in the middle of our mantel-scape!


Adding coral is such an inexpensive way to pop coastal elements to your space.  I stacked this one on plates I had on hand just to give it a bit of height.


Annnd, I just can't seem to "retire" my mercury candle holders.  I love the shiny touch that they add to another otherwise neutral palette.  Peeking through is an oversized sea fan ... you guys know I love layers!


Lastly, down below ... I added rolled up vintage maps to an urn I had on hand.  Because I didn't have that many of them, I then rolled up inexpensive craft paper and tied a burlap bow around those as well ... they make a great filler and help the maps pop:


And, there ya' have it ... our summer coastal mantel!  Thanks so much for taking a peek.


And, as always, thanks so much for stopping by, sweet friends,

Becca

I'm linking up with:

The Lettered Cottage/Summer Mantel Party
Savvy Southern Style/Wow Us Wednesday
My Uncommon Slice of Suburbia/Tuesday's Treasures


The Lettered Cottage

Garden Update

A garden update after a long time. It's flourishing, blooming and looks cheerful & colorful :-)

Dwarf Pink Ixora and Money Plant
I hung these l'il birds I bought from Dilli Haat few years back when I was in Delhi. 


One of the corner filled with colors and lil creatures.


One more flourishing beautiful corner during rains. 


I have rearranged all the pots and planters some times back and It looks better now.


All  my plants and colorful pots make me smile as I sip my cuppa looking at them.
Now waiting to add some more accessories in my garden that I already have in my mind.

Have a cheerful week ahead!!


Saturday 16 June 2012

Pretty Canisters!


My neighbor is a pharmaceutical sales person.


She has a bunch of plastic canisters that she can no longer give to her clients...


And she didn't know what to do with them so she gave me several.


Here is what they looked like as my neighbor gave them to me...


All I did was create an individual look for each one out of scrapbooking paper and supplies that I had on hand.

Canister #1 was

Wednesday 13 June 2012

Fun Kansas Finds!


We took a trip to Kansas to visit my son and two of my sisters. I thought I would share with you some of the fun pieces that we purchased on our trip. I fell in love with this blue bird platter and for only $1, I had to have it.


Sorry for the glare, I couldn't get a good photo and forgot to take a picture when I had it all apart cleaning it.

This old picture of twins stole my heart and I

Tuesday 12 June 2012

Sunday 10 June 2012

Saturday 9 June 2012

China Garden Flower Tutorial!


I have seen some whimsical garden flowers made out of various dishes and fun glass items.


It's easy and simple to do.


Here's how...


Gather old dishes of various shapes and sizes...


You will also need an old silver spoon for the back of each flower. I flattened it out using a hammer since it will be glued to the back of the plate. A great place to get this stuff is

Wednesday 6 June 2012

Homemade Rain Chain

Do you ever come across cheap, old silver spoons at thrift stores and garage sales and wonder what you can do with them? In the past I have made hooks out of them like these...
Well, I came across a bag of spoons for $2 at a garage sale and thought I would make a homemade rain chain out of them. Here is a short tutorial on how I did it.


Collect old spoons and some wire.
Drill a small hole in

INDeco Hotels Swamimalai, 1896 Tanjore Village.


I had posted about this serene place near Kumbakonam, Tamilnadu way back in 2007 when I had just started the blog, it was called Sterling Swamimalai

Since then it has evolved into a even more beautiful heritage resort and has been rechristened INDeco Hotels, Swamimalai, 1896 Tanjore Village.
INDeco Hotels Swamimalai, 1896 Tanjore Village is a heritage resort which consists of a painstakingly restored main village home built in the late 1896 and many other heritage structures which have been restored to create an ambience of a Tanjore Village.
 Terracotta figurines and idols compliment the heritage space with pops of burnt red.


Painted prayers~ Kolams adorn the brick paths and entrances to the rooms. 
My daughter learning to make little kolams on a little chalkboard...

Kolams are drawn every morning after a generous sprinkling of water on the paths.


The swimming pool has been designed like the village temple tank with niches for earthen lamps that I imagine would create magic on special days and festivals...
White-washed terra-cotta 'yalis' guard the dining hall which is tucked amidst thick banana plantation.


Beautifully designed entrances to various rooms in the resort.
Few walls are painted red and white reminiscent of South Indian temples with beautiful sculptures of Gods & Goddesses.

The trees in the resorts have faces! The Cannonball tree (Nagalingam) seem to come alive with a terra-cotta face and floral hairdo. So delightful!

The Cannonball flower has such a mesmerizing fragrance.
 The terra-cotta Gods are omnipresent:-) 
The resort has been conceived and designed by Steve Borgia. It also houses the Steve Borgia Indian Heritage Museum where you can see a beautiful collection of antiques and collectables. 
Lovely geometrical patterns created by Mr. Sun.


A huge Lord Shiva face in the museum open courtyard.

 The sun-bathed courtyard in the 1896 village home.
 A peacock enjoys the morning sunlight...

Hope you enjoyed the tour of the stunning South Indian village style, heritage resort. So next time you are on a South Temple trip in Tanjore District, do check out INDeco Hotels Swamimalai, 1896 Tanjore Village.
Have a great day with a stainless steel tumbler of the famous frothy Kumbakonam Degree Coffee:-)

(Images by Arch)