Showing posts with label My Artwork. Show all posts

Monday 22 July 2013

Doodling Around.......!!

 Sometime back I found little time in my hand and I didn't miss the opportunity. Just pen and a page what I wanted and here's what I ended up making. A butterfly............


 Here's a full view.

Stay tuned to meet one more inspiring eminent artist this week.........!!
Have a lovely week ahead :)


Thursday 25 April 2013

Cracked Effect Painting Technique

For regular updates like my Facebook page (click here)
Today I am sharing very easy and fun to do painting technique - Cracked Effect. Its easy and result is just awesome. It can be done on wood, paper, ceramic, canvas and earthenware. Colors can be acrylic or metal colors for extra shine. I chose terracotta pot and acrylic colors.I had clicked all the pictures from start to end of the project but sadly my gadget wizard kid deleted some of them. I'll try my best to make you understand the complete process.

Supplies: 
Object (Which you want to paint like I chose clay pot )
Acrylic/Latex Paint
Brush
Crackle Medium or all purpose glue

Step 1: Wash terracotta pot and let it dry. Choose two contrasting colors. I chose Pink & magenta.
Step 2: I always prefer to prime the surface as it gives better results. You can skip this step though. 


http://designdecoranddisha.blogspot.in/
Primed pot

Step 3: Now paint the pot with chosen color and let it dry completely before proceeding.

http://designdecoranddisha.blogspot.in/

Step 4: Now apply crackle medium or all purpose glue on the pot. Thicker layer of glue will give larger crackling effect. to achieve fine cracks apply thin layer. Apply it evenly on the surface.
Step 5: Apply top coat immediately as crackle medium dries very quickly. Apply the second chosen color lightly with soft brush or you can spray paint to make it fast. Keep in mind here that you should not use hard brush strokes as paint can run through the glue and you can't achieve cracked effect then.
Now let it dry completely. Cracks appear as soon as it starts drying.

http://designdecoranddisha.blogspot.in
Night shot 

Here is my finished product. Looks cool. In the last I applied lacquer to give a protective coating.

http://designdecoranddisha.blogspot.in

Potted verbena that has magenta blooms and looked perfect.

http://designdecoranddisha.blogspot.in/

Happy indoor as well as..............

http://designdecoranddisha.blogspot.com


http://designdecoranddisha.blogspot.in

Outdoor.

http://designdecoranddisha.blogspot.in


My Rainbow terrace garden has few more colors now :)

http://designdecoranddisha.blogspot.in/


http://designdecoranddisha.blogspot.in/


Wish you all a very happy and creative weekend!! Keep creating!!


Tuesday 26 March 2013

Warli Art: My First Warli Painting

I must say this month has been action packed for me. I kept myself busy in various activities and learnt few good & new things. I think this is the mantra of happiness- keep yourself busy and learn something new.

I have always been a great admirer of all Indian art forms . It was my dream to explore and learn about various Indian Arts and that's what I am doing these days. Let me share my happiness with you all wonderful people who always keep encouraging me by reading, commenting and liking my every post.  Recently I learnt about 'Warli Art' and found that it's not only the simplest art form but looks magical too. 
Earlier I had done Warli art only on a small pot but this time I tried it on paper with all the details and tried to depict social life of Warli tribes.
Here is my first Warli painting. Theme is wedding. 

http://designdecoranddisha.blogspot.in
My First Warli Painting.
Here are the details. Sun and sparrow can be of same size in this style of painting, as proportionality doesn't  matter.  

http://designdecoranddisha.blogspot.in
Warli Art: Sparrow and Sun
Groom on a horse arriving for wedding. Banana leaves, earthen pots and decoration with flowers and leaves  to recreate the scene of wedding ceremony in a village.

http://designdecoranddisha.blogspot.in
Warli Art: Groom
People are welcoming groom and playing instruments. All the shapes are geometrical circle for head, triangles for trunk and pelvis of human body. Faces are bereft of features.

http://designdecoranddisha.blogspot.in
Warli Art: Men Playing Instruments
Palm trees and hut to recreate a village scene. Again geometrical shapes are used and filled them with fine lines as no free space should be left in this style of painting.

http://designdecoranddisha.blogspot.in
Warli Art: Hut & Tree
Animals and birds are very common in this painting. Here is my Warli peacock.

http://designdecoranddisha.blogspot.in
Warli Art: Peacock
I enjoyed a lot while I was doing this art. I felt like I am achieving something with every stroke of brush. I am so happy so content. I don't know which art form I will be working on next but I will surely share with you :)


Joining PPF!!!


Sunday 10 February 2013

Valentine's Day Craft: Quilled Heart


You must have read my earlier post 'Inspiring Eminent Blogger: Suganthi'. She is Quilling Artist and has her unique way of Quilling. I loved all her artwork and instantly fell in love with this art. I tried my hand on Quilling earlier also. I made Quilled flower wreath on Christmas. This time I made Quilled heart as you all know Valentine's Day is just around the corner. This craft is very easy and you can involve your kids also as I did.

Valentine's Day Craft

I made this quilled heart and then added bead hanging inside it. To make quilled heart, take a red quilling stripe and fold it into half. Roll both the ends inwards, one after another using quilling needle and then stick both the coils together.

Valentine's Day Craft

To hang beads inside quilled heart was very simple. Just thread, needle & beads and your quilled heart will look even more cute :)

Valentine's Day Craft

Look at the images and you will be able to understand how to make these cute little hanging quilled heart.

Valentine's Day Craft

Now the next steps is to hang them on a branch.

Valentine's Day Craft

I had this dried branch and I painted it red. All the little heart are now hanging beautifully on a Love Tree.

Valentine's Day Craft

And spreading love..............
Valentine's Day Craft

See....Love is in the air :))

Valentine's Day Craft

Tree is looking lovely but I think it needs something more........

Valentine's Day Craft

I have an idea to make it more lovely, more beautiful........probably will show you in my next post.

Valentine's Day Craft

Till then try making this love tree for your loved ones and don't forget to show me the images.


P.S. All images are mine and are subject to copyright.


Thursday 31 January 2013

Moment Of Creativity, Togetherness & Love

Some times my son & I just pick up brushes and colors and get lost in creating some memory. Here I have to say that he isn't a good artist it's just that we want to spend some quality time with each other. I so love that time of togetherness, creativity, fond memories and loads of love :)
I gave him brush & color for the first time when he was two year old (little late I guess) and let him do whatever he wanted....
and this is what he came up with...........

First painting by my son
 He found it very interesting. Slowly I introduced him to different types of painting....... thread painting, spray painting & many other. This one is thread painting that he did without my assistance a year ago when he was three & half year old. These paintings fascinated him a lot and he started taking more interest in learning different styles of painting. Sadly his spray painting is missing :( which I would say was far more better than all these paintings.

Thread painting done by my son

Then I gave him liberty to touch and play with my poster colors and see the result......isn't it looking like modern art done by a very polished artist (just kidding). He dipped brush in green color then blue, then black then brown and soon all my color bottles were in same color that was black with hint of blue, green and brown :(((

My son's poster color painting

One day I decided to assist him and tried to do something more creative than usually we do. I tore few colored paper into small pieces, drew outline on a page and told him to stick all those papers in mosaic pattern. He completed it nicely & it turned out as pretty as I had thought. Now this sure going to be framed and will beautify my son's room :) Proud moment for a mommy :)))))


I am keeping journal of everything he creates and just love to peek into it every now and then.
I so want to hear from you. Please share your views here...!!!


Linking it to Show And Tell Friday & PPF

Wednesday 26 September 2012

Pop Of Color In My Living Room

This weekend gave me joy of  some 'Me Time'. I spent lot of time in my small terrace garden cutting, dead heading, pruning, pinching and  re-potting followed by painting some tiny pots. These tiny pots are up-cycled plastic containers :)

Tiny painted pots

I potted the plants in a manner that the most striking color of a tiny pot will going to match with flowers of the plant. Pink one is having pink Impatiens sapling. These tiny beauties are spreading happiness in my living room.

Tiny painted pots


Tiny painted pot


Thursday 30 August 2012

Wall Makeover : Wall With Personal Touch

This is the very first makeover of my place that I started from foyer. Come on and first have a look at before and after of the entrance.


Wall_1

What a wonderful difference. I am totally loving it. Images are not doing justice though :-(
Now the story of this wall transformation goes like this.........

Wall_2

In my home I want everything with my personal touch or I can say everything made by or done by me. I am on way to fill colors in my home (my blank canvas) and I started from foyer. First I thought of stenciling the wall and one more idea was to draw a free hand design. So just for a rough idea I came up with these two images. Sent these pics to my sister and she gave me go ahead with freehand design.

Wall_3

I wanted the color of wall to be bright as the entrance to my home is little cozy and dark. I chose lot of bright colors and then zeroed in on this mango yellow. My li'l one was ready to lend his helping hand for sanding, priming, painting and designing the wall. 4 Yr old and did it so well that I was just amazed to see everything he has done. Kids these days are very smart :-)

Wall_4

Then I drew freehand design on the wall and started filling brown color to it. 

Wall_5


Though it was freehand design I wanted to give it a look of stencil. For Lotus I was confused between white and red color. White looked better..........

Wall_6


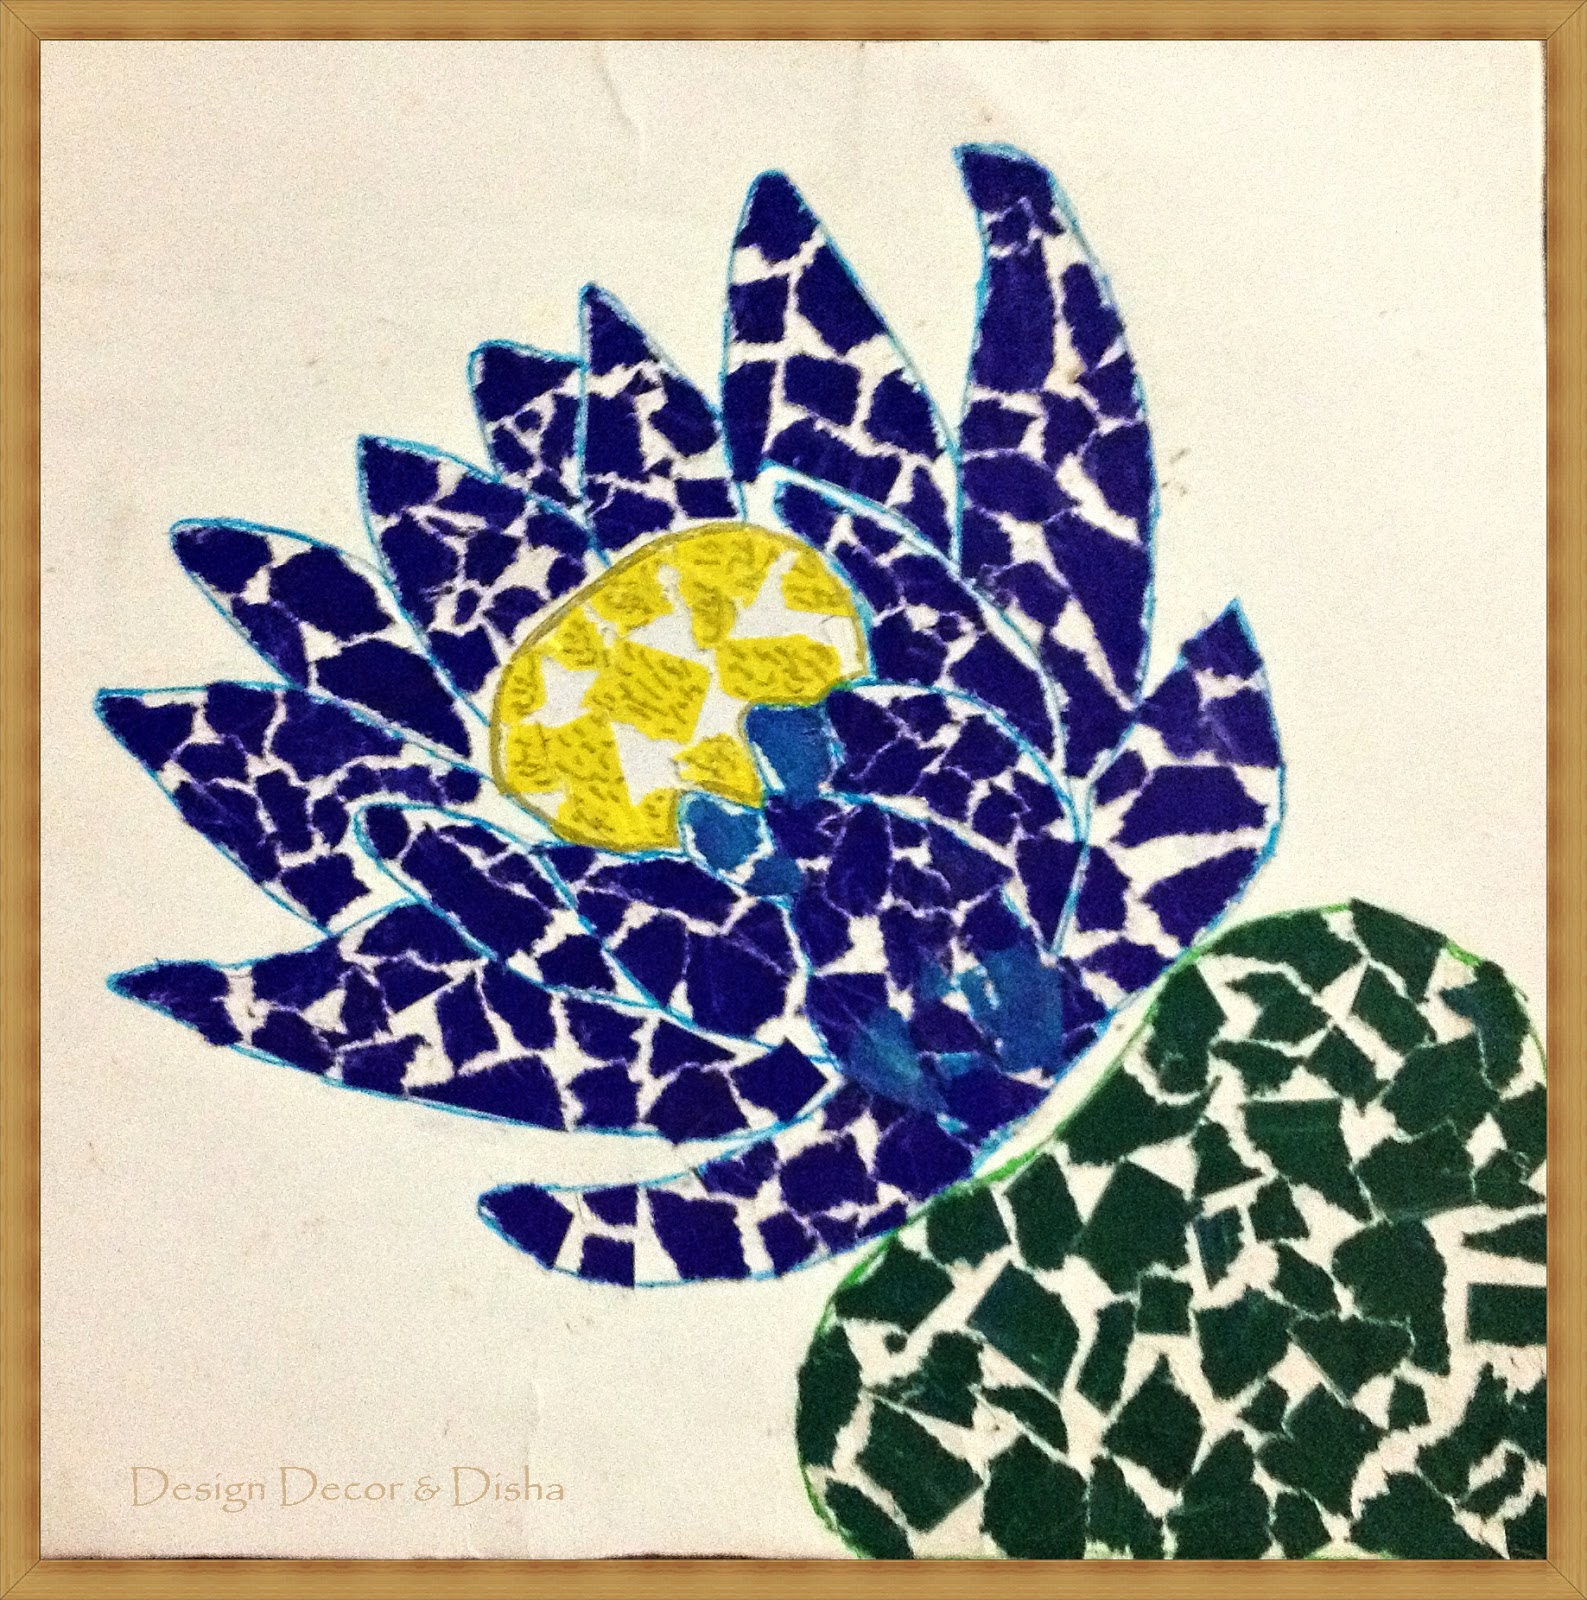
Steps involve in making leaves..........

Wall_7

Here's a look after filling color but something was missing........

Wall_8


Filled golden color in leaves veins and it looked perfect.

http://designdecoranddisha.blogspot.in


 Here is the completed wall ....looking bright and beautiful.......but still something is missing......

Wall_10


Idea clicked and I'm ready with my weapons and lil' one is busy clicking progress of the work.

Wall_11


Here comes the complete look. Look that gave me full satisfaction. It turned out far more better than my imagination. And here I wanted to let all my friends know that this sunburst mirror is also my creation and I created it in only 3hrs because I was in hurry to complete this wall as soon as possible (Sometimes I become so impatient).

Wall_12


It feels great, wonderful, amazing when you see your own creations everywhere around your dwelling.

Wall_13

This wall is so me. Everything on this wall describes me. Sometimes a just sit and keep admiring the beauty of this wall....crazy me ;)

Wall

Let me know your views and ideas about this wall.
Click the link below for Sunburst mirror tutorial:
Sunburst Mirror Tutorial
Loved my blog, then probably you don't want to miss any update, Click here to like my Facebook Page!!!