Tuesday 12 March 2013

Spring Is Showing Up In My Garden

 Spring is nature's way of saying let's party - Robin Williams
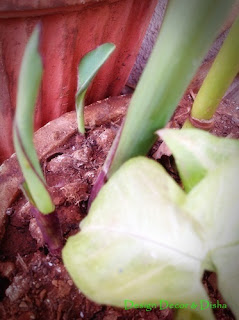
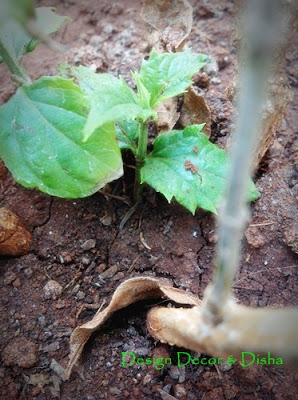
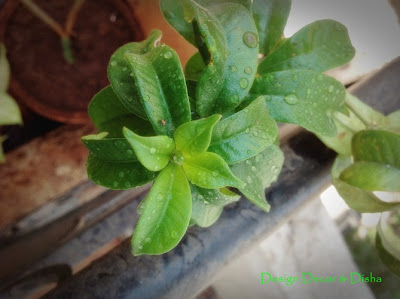
Yes I have reason to party, we completed two blissful years in our abode and I am happy that my garden too is showing up that sign of partying.
Having somewhere to go is Home, having someone to love is Family, having both is Blessing. Ever since we moved to our haven we feel blessed, content and happy :)
Here's how my garden is smiling with me and showing sign of spring..............


Monday 11 March 2013

While I patiently wait for Spring...

Yesterday we set our clock ahead by an hour.
The days are getting longer.
As I look outside my window I see a white blanket of snow which doesn't seem fluffy any more.
Tiny rivulets flow down the paths.
A gently breeze seems to take over the quiet stillness of winter.
A season in transition.
An anticipation of Spring....

Having moved to Minnesota in late July last year, we have been able to enjoy Summer, Fall and Winter.
Now as I patiently wait for Spring outside my window, few corners at home seemed to have already welcomed the season:-)


 Vintage Oleographs, fresh flowers and silverware.

A sparkly twist on the Oleographs...

 Attar perfume bottles from Old City Ahmedabad sit pretty on a vintage tile...

A floral mirror work dupatta provides the perfect background.


 Rose perfumed tea lights...


Look who just made an appearance!

Priya Sebastian's Charcoal Artwork doesn't have an orange wall backdrop but holds the same position in our study.

Wishing all of you a beautiful season of fresh flowers, soft green grass under your feet and blue blue skies!

( Images by Arch)

Paper Craft: DIY Decorative Tray

Don't miss any update from this blog like my Facebook page click here
Past few days had been very hectic and I almost forgot to do a post on a Decorative Tray that I made from Newspaper. So here is my promised post. 

1. Gather all the required material as I have shown below.


2. Cut 5-6 Inches broad strips of paper as shown below.


3. Now roll the paper strip with the help of stick. As shown in image below. Remember you have to take out the stick once paper is rolled completely. So don't roll it too loose or too tight.


4. Take the stick out slowly. Now stick the end of paper with glue as shown here. 


5. Make good amount of rolls as you will need lot of them. I made around 50-60


6. Now image for this step is missing. But believe me it's very easy. Take two rectangular card board of same size. Size depends on your choice. On one cardboard start sticking one end of paper rolls around 2 inches should be on the cardboard. Place one after the another keeping space of around 2.5-3 inches between them. Make sure that there is one roll glued on every corner of cardboard.

7. When you are done all around the edges of cardboard then glue the other cardboard of same size on top of it and let it dry.

8. Now pickup one roll and start weaving on the rolls that you glued on the cardboard earlier. Pattern should be once in then out as shown in image below. 


9. When the roll is about to finish then insert another roll inside it and keep weaving until you reach desired height.


 10. Now cut the extra length of roll and secure the end inside woven part and glue it(Refer image below). Put cloth clips on it and let it dry. After half an hour or so it's time to prime the tray.


 11. Either spray paint it or use brush. Wait for primer to dry then color it with color of your choice. Use acrylic colors and after the color is dried completely give a final coat of varnish to make it durable.


 Here is a final product my decorative tray.

https://designdecoranddisha.blogspot.in

Looks no less than wicker basket and is strong enough to hold some stuff :)

https://designdecoranddisha.blogspot.in

I keep changing stuff that tray holds. Have a look........


And my hubs liked it so much that he is taking this tray to his office and will try to be little organized :) Well that's a great reward I got.


I made some small baskets also. Have a look here.
 Do let me know how do you find it.


Saturday 9 March 2013

Indian Art: Madhubani Painting (Bihar)

 Madhubani Art

Madhubani art is a style of painting from Mithila region of Bihar in India.  Earlier these paintings were made only on the occasions such as wedding ceremony, vratas and pujas. Designs depict the occasion of celebration and seek divine blessings. This art is mostly practiced by women in villages of Mithila region. 


Origin: 
Origin of this style of painting dates back to period of Ramayan. It is said that Mithila is the birthplace of 'Sita' and at the time of her marriage with Ram, King Janak commisioned artists to do this painting. Buddha and Mahaveer can be seen in Madhubani paintings as celebrated figures. It is an age old art form and is prevalent even today. In it's earliest form painting was done on floors and mud walls using natural dyes. These days artists use fabric or paper and acrylic/poster color for painting. The painting was mainly done by women of Brahmin and Kayastha castes and art form is handed down from generation to generation.

Done by Artist Bharti Dayal 
Style: 
This painting style uses two dimension imagery. Paintings mainly depict mythology and day to day life.
Paintings done by Brahmin and Kayastha women were more sophisticated and were based on Hindu mythology whereas Madhubani paintng done by Harijan women were less sophisticated but were well expressed. Painting style mostly depicts Hindu deities and natural objects that shows fertility and prosperity like sun, moon, fish, parrot, elephant, turtle, lotus, bamboo tree, tulsi plant, flowers, birds and animals.
In this style of painting deities are positioned centrally and then no space is left around the main figure. Gaps are filled by flowers, birds, animals and geometric designs. 
Style can be categorized in two main categories:
1) Kachni: Fine lines are used to fill the picture with less use of color
2) Bharni: Solid colors are used to fill the picture.

Done by Artist Arun Kumar Paswan 

Process: 
Process of making this painting is very simple but involves lot of patience. In earlier form the painting was done on floor and wall by plastering cow dung on wall/ floor and then picture were made with rice paste and natural dyes were used to fill color in the painting. These days it is done on fabric and paper. So artist mainly use acrylic color or poster color. First step is to choose theme of the painting. Design is then  traced on fabric/paper. Outline is done with black color and generally double line is drawn then it is filled with delicate fine lines or color is filled if the painting style is Bharni.

Done by artist Ajeet
Though Madhubani is age old art form but it recieved  recognition in 1970 when an artist Jagdamba Devi from Mithila was awarded by Indian President. One such renowned artist is Bharti Dayal who has been awarded National award and various other awards also. The second image in this post is her artwork. Her artwork is a perfect blend of heritage style and contemporary work.  Her paintings will be exhibit at the World Conference of Religions in Brussels in 2014.

A big Salute to all these women who are trying to keep our heritage and art alive and are pride of our Nation.
If you also have done such work then please do share with me and I'll going to add your artwork here :)