Monday, 26 August 2013

Fan Of The Week: Kala Chaitanya

Dear readers you all are awesome. Nothing makes me more happy than reading your encouraging mails and messages. Though I try my best to reply each and every mail I receive, but in case I don't then please don't feel bad, I will get back to you sooner or later. You just keep pouring your love:)
A new week and time to introduce you to a new creative reader: Kala Chaitanya.  
Over to kala now:-

Hey guys, I am very excited to see my blog featuring in a wonderful and inspiring blog :) Thanks Disha !!!


Welcome to Ingenious Misses Creations blog , I get inspired with every creative items around me. Love to create lot of many handmade things and feels excited to share in my space to keep my inspiration alive :) 


I am not bounded to a particular things, explore and put a hand on all things I love and inspires me.. Nail arts and jewelry making are my best ones.Take a look at my few items and don't forget to visit my little shop and IngeniousMrs my page on fb !!!


Ohhhh I always wonder  that lots of creative people are there and I am happy to have some of them here on my blog :) Thanks Kala for sharing your creative work with us.
Visit some more creative minds featured on my blog here. Have a very beautiful week ahead!!


Saturday, 24 August 2013

Vintage Sewing Cabinet


Wow,


 I adore


how this


 transformation


 came out!


At a local estate auction right around the corner from my home, I picked up this sweet sewing cabinet for $5!


The top drawer pulls out as expected, but what was unexpected was the second drawer...It is on a swivel to expose an area for threads and needles.

The top had some damage which after fixing the veneer, made

Friday, 23 August 2013

Our Kitchen Tour and TWO Giveaways!

Greetings, friends!

I'm so excited to be joining an incredible group of gals in sharing our kitchens!  And, even more excited that one, no, make that TWO of you, have a chance to win either a new Pfister faucet (worth up to $300) or a $250 Visa gift card (details below)!

Because I've shared our kitchen with those of you who have visited before, I thought I'd take a trip down decorating lane ...

You see, once upon a time, in the land of red, green and gold, lived a kitchen that looked like this.  Eventually, I began a love affair with a paint brush (and a lighter and brighter color scheme) ...


That love affair with paint eventually turned our kitchen into THIS!  I think one of the first changes you might notice is our island, which we first had face panels added to it.  I then painted it Annie Sloane's Old White, followed by her Chateaux Grey (then distressed) ... added a butcher block top and farmhouse legs.


It's now a favorite spot for me to attempt to style vignettes to suit the seasons ...


and to "welcome" you with Scrabble tiles to one of our favorite spots in our humble abode:


Another big change is that we said goodbye to our laminate countertops, maple cabinets and red accent wall ...


and a big, fat HELLO(!) to Golden Beach granite, cabinets which I painted Annie Sloane's "Pure White," walls painted Ben Moore's Manchester Tan and bead board backsplash!  Amazing what a can of paint (or 10) can do, isn't it?


I love how things placed on our counters now really "pop" against the white beadboard and how fabulous the granite is for hiding crumbs (oops):


BEFORE:


AFTER!  We also retired our wrought iron bar stools pictured above (which I eventually painted AS's Pure White) and replaced them with "bare wood" Napoleon rush seat bar stools, which I then painted AS Pure White and Chateaux Grey to tie in with the island and dry bar in our breakfast area.  We also had molding and shadow boxes added to the back of our breakfast bar:


See that lone maple cabinet in the left corner?  It didn't like being by itself, so, down it came ...


and up went 3 shelves which I made ... they will soon be splashed with pumpkins!


One thing that will NEVER change is my laziness ... yes, our chalkboard (that we  made and added to our pantry door) still says Happy "Holly" Day from last Christmas.  Shame!


Skip on over to our breakfast area now.  Sometimes, I truly can't believe it once looked like this.  I do miss the vibrant red, especially around the holidays...


HERE is what it looks like today!  It doesn't even look like the same space, does it?  That's thanks to a dry bar that we had installed, which, of course, I then painted AS' Pure White and Chateaux Grey.  We also replaced the chandelier with one that was once in our dining room.  New curtains and bamboo shades were eventually added, along with a farmhouse table, to help complete the French Country look that I was hoping to achieve:


Now, that summer is coming to a close, it's time to starting splashing a bit of Fall around!  

Thanks so much for taking the time to visit and allowing me to share our kitchen/breakfast area!  Who knows what it will look like if you stop over again!


Before you go, you simply MUST visit the other tours that are taking place!  AND, don't forget to enter our giveaway (details below)!  


Thursday, August 22

Friday, August 23

And now for the giveaway!

Kitchen Tour Giveaway!

There will be two winners for this giveaway! Pfister generously donated a prize for this giveaway, so one winner will receive a free faucet worth up to $300, and a second winner will receive a $250 Visa gift card! To enter for your chance  to win, just follow the steps below!

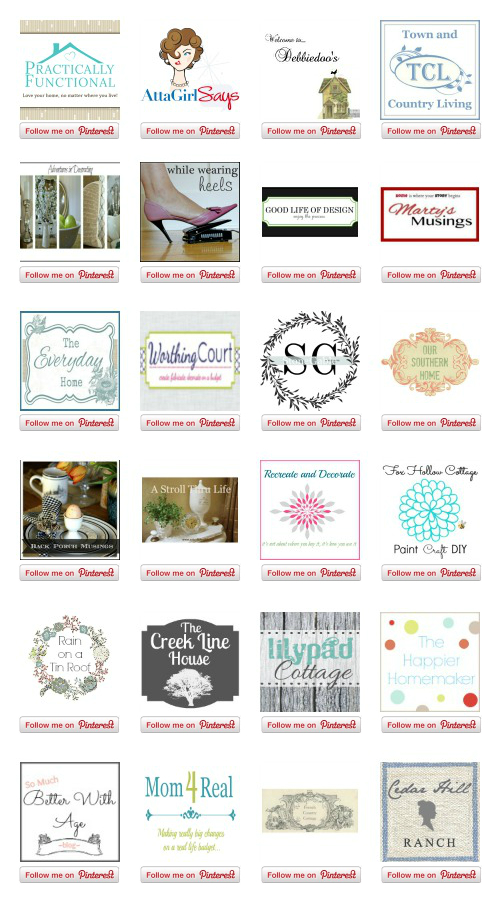
Step 1: Follow the bloggers below on Pinterest:
Practically Functional
Step 2: Enter the giveaway using the Rafflecopter widget: a Rafflecopter giveaway

Good Luck, everyone ... and, thanks for stopping by!
post signature

Thursday, 22 August 2013

Kitchen Tour Series Has Begun ...

Greetings, friends!  You're all in for a real treat as a bunch of bloggers (and myself) are sharing our kitchens as part of our Kitchen series.  PLUS, there's going to be not one, but two, giveaways ... one lucky person will receive a new Pfister faucet, worth up to $300, and a second person will win a $250 Visa gift card! 


So, go grab something refreshing and take a peek at the following blogs starting today!


Thursday, August 22


Friday, August 23


Thanks for stopping by,
post signature

DIY: Sunburst Mirror

Don't miss any update from my blog, like my Facebook Page(click here)
Here is long due and promised post on Sunburst mirror tutorial. Lot of readers mailed me to know how to make this sunburst mirror, so here I'm sharing it with you all lovely and wonderful readers :)

http://designdecoranddisha.blogspot.com


Supplies:
Hardboard -2 (8 Inches diameter)
Mirror-1 (8 Inch diameter)
Skewers 32 (I used broom sticks though)
Glue gun
Embroidery mirrors in 2 sizes
Stones/sequins
Card stock
Craft glue
Scissors
Hook
Acrylic color of your choice
Paint Brush
Step 1:
Get mirror of your desired size. Stick back of the mirror to the hardboard with glue.


Step 2:
Cut the card stock diameter greater (Approx. 2 Inches) than  hardboard/mirror's diameter  Now on this card stock draw a circle with diameter 4 Inches less than mirror and cut it with paper cutter/knife. Inner circle is of no use. Keep the remaining part.


Step 3:
Paste this card stock on mirror as shown.


Step 4:
Stick sequins/stone in a way so that it is half on mirror and half on card stock.


Step 5: 
Now mark the back side of the mirror i.e. on hard board side as shown in pic. Tag every mark with B for Big Skewer. M for Medium Skewer, S for Small Skewer. If you want to keep all the skewers in same size then no need to tag them.


Step 6:
Cut the skewers in three different sizes. Small, medium & big as shown in pic.  


Step 7:
Stick all the skewers accordingly. That is big skewer on tag B, medium on M & small on S. Let it dry for at least 2 hr. Refer pic below.


Step 8:
Now stick another circular hard board on this arrangement of skewers (i.e on the back side of sunburst mirror) and fix hook on it to hang it on wall.

Step 9:
Turn the mirror side up. Now start sticking embroidery mirrors on these skewers in a manner that you like. Try different orientation  and go for the one you like most.


Step 10:
Now color all the skewers in golden color or color of your choice. Let it dry.
Sunburst mirror is ready. You can go wild with your imaginations. Try making one and let me know.


Here is my sunburst mirror that looks beautiful against my mango yellow wall


Hope you will love this and will going to try this :) Happy creating!!


Monday, 19 August 2013

Fan Of The Week: Bhumika Awasthi Chaudhary

A week ago we met a very talented and creative mind 'Shashwatee Raut' and it's time to meet new talent of the week. Dear readers joining us today is 'Bhumika Awasthi Chaudhary' of 'Paper Passion By Bhumika'She filled my heart with joy when she said that it's all your effect and humbly named it 'The D effect' :)
This is what she shares with us:

Well first of all thanks for having me here on your Blog, its not only because you invited me here but its because you have always been a great source of inspiration for me. It’s a wonderful opportunity to connect with other talented people around the world. I am a stay at home mom of a three and half year old son, currently I’m in US, I did my MBA, but after coming here in US I had no choice but to stay at home.
I don’t like to sit idle, so I just love to do what keeps me busy and give me inner satisfaction. I know I’m master of none but you can call me jack of all trades. I make jewelry, I do calligraphy and various craft projects.


I was desperate to do something in spare time, while surfing internet I came across a link related to quilling, instantly I felt in love with the simplicity and beauty of the art and that's when I decided that I will try my hand on this.

Here are some of her master pieces.
 I’m in love with quilling, especially jewelry, apart from that I believe in reduce, reuse and recycle, so I use all those stuff that is considered useless or trash like tissue roll, old plastic bottles, boxes etc. 
She made these beautiful Lotuses in different vibrant colors using pistachio shells :) Tell me isn't that beautiful.

Some more paper jewelry by Bhumika.


Whenever people around me appreciate and encourage me for my work, it certainly boost my spirit and keeps me going. My biggest inspiration and support is my husband who always encourages me. He is my biggest strength. I love to spend time with my lil' one, other than that I love to cook.


 She tried different quilling techniques to make these cute butterflies.
Fantastic artwork Bhumika I must say. For placing orders and to know more about her work visit her Facebook Page 'Paper Passion By Bhumika' and show some love by liking it :)

See you all with a long due post on some DIY project. Stay tuned!!

P.S All images are provided by Bhumika and are subject to copyright.

Linking it to Tuesdays At Our Home