Friday, 9 March 2012

My History

My beloved Maternal Grandmother passed away a year ago at the ripe old age of 93. My mother was her only child. Mom just mailed Grandma's pictures that she divided up between us, her 5 daughters, and here are some really old and interesting pictures that I received.

My Grandpa (Alfred Joseph Heimerman) and Grandma (Dorothy Rose Nigg) 1936 wedding picture. Grandma was standing on a brick to make

Wednesday, 7 March 2012

ReArranged Guest Bedroom

Recently, I shopped my own house for furniture for my newly painted master bedroom. You can see more on that HERE. But you all know what that does. It causes a void in the room you stole the furniture piece from. Therefore, I had to rearrange my blue guest bedroom a bit. By the way, I call this guest bedroom blue, because the ceiling and the bedding and some accent pieces are blue.


Basically,

Sunday, 4 March 2012

Addition to Drapes in Guest Bedroom

Have you ever been nagged about something that you made that just isn't 'right' to you? Well, I have.
 First of all, the window in my blue guest bedroom was built almost up against a wall...(I call it my blue guest bedroom because the ceilings are painted a soft blue and the bedding is blue)
Do you see how close it is to the next wall? Frustrating to make curtains for when the look you are going

Friday, 2 March 2012

Spring ~ Around the House!


I changed the color with photo editing!


These parties I love to link up to or check out my Blog Parties tab
Party Time @ It's So Very Cheri
Metamorphosis Monday @ Between Naps On The Porch
Motivate Me Monday @ Keeping It Simple 
It's Party Time @ Northern Cottage
Show Off Your Cottage Monday @ The house in the roses
Masterpiece Monday @ Boogieboard Cottage 
Creative Blogger's Party @

I Couldn't Wait ...

Well, it's officially March (yay) ... so excited about that ... not so much that I'll turn 43 tomorrow, but, that's okay ... nothing a bottle of Botox won't cure!  Kidding!

I know it's early, but, I'm feeling Spring in the air.  So, I thought I'd kick of March by sharing our Easter mantel:


I thought I'd really play up the pastel colors this year, starting by removing the red berry sticks in this vase (for Valentine's Day) ... they have been replaced by lush pink florals:


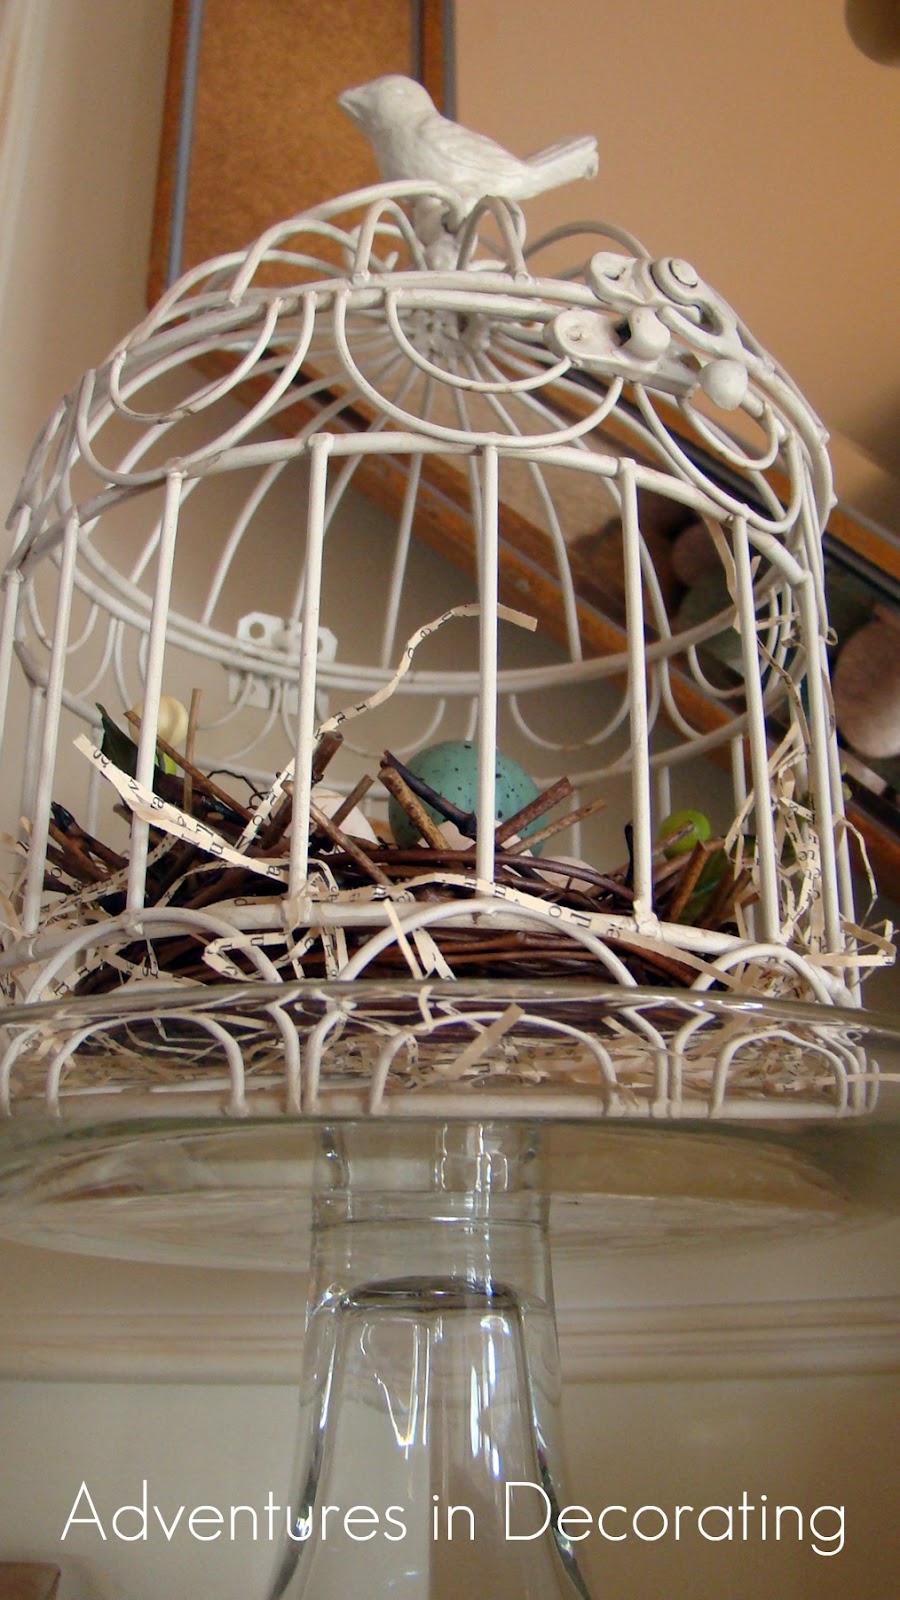
I found this cute bird cage at Michael's, so I placed shredded paper, along with a bird's nest in there ... all of which I placed on top of a glass cake stand (from Wal-Mart):


Front and center are a few more ca-ute(!) bunnies from Pier One ... they were so reasonably priced.  If you see them, you better grab a few up before they are gone!


Moving on over ... I placed soft pastel eggs in a glass apothecary and layered a sea fan behind it just for a bit of unexpected texture:


And, you may remember how I wrapped red ribbon around my candles for Valentines as an inexpensive way to add a splash of color ... no surprise then that I wrapped Spring ribbon around them now for the season!


Up above hangs a festive egg wreath I recently scored at Home Goods ... let's hope it doesn't come crashing down on my sweet bunny family!


Annnnd, just *look* at the fun "SPRING" banner I found at Target ...


Down below, I added a pastel pillow from HomeGoods to the chair ... I need to wrap burlap around it though:


I'm sure I'll tweak this a bit more before the Spring parties start, but I just couldn't wait to share!


Before you go, I simply *have* to add a shameless brag about my sweet (and, now 6!) kiddo!  Today was "Storybook Character Day Parade" at his school, and, in honor of Dr. Seuss' birthday, he chose to be the "Cat in the Hat" (although, in this pose, he's more like "Ninja Cat in the Hat," lol) ... he led the parade with another young cutie ... proud Mommy, fo' sho' !!


Happy *almost* Spring, friends ... have a great weekend!

I'm linking up with these fun parties ... come on over and join us:

At the Picket Fence/Inspiration Friday
My Uncommon Slice of Suburbia/Tuesday's Treasures
Coastal Charm/Nifty Thrifty Tuesday
Savvy Southern Style/WUW
No Minimalist Here/Open House Party
French Country Cottage/Feathered Nest Friday
Fox Hollow Cottage/Spring Mantel Party
Michelle Paige/Springtime Holiday Linky Party
It's Overflowing/Overflowing with Creativity
Grits and Glamour/Egg-xellent Spring Mantel Party
The Lettered Cottage/Spring Mantel Party
52 Mantels/Thursdays are Your Day
2805/Potpourri Friday


Thursday, 1 March 2012

Spring 2012 Mantel

Living room mantel for spring 2012...

And in the evening, twig lights come on from a timer in the Forsythia arrangement.

These parties I love to link up to or check out my Blog Parties tab
Party Time @ It's So Very Cheri
Metamorphosis Monday @ Between Naps On The Porch
Motivate Me Monday @ Keeping It Simple 
It's Party Time @ Northern Cottage
Show Off Your Cottage Monday @ The house in the

Wednesday, 29 February 2012

Cafe Shelves Tutorial

Happy Hump Day!  Over the last couple of months, I've received quite a few e-mails asking how I made the cafe shelves in our kitchen.  Sooo, I thought I'd take a moment to I share what I did! 

Honestly, I can't take any credit for how I made them.  I simply followed Traci's(Beneath My Heart) fabulous tutorial.  In fact, you can just go ahead and stop reading my post now and head on over to read her super easy-to-follow steps!  BUT, if you choose to keep reading my post first, here are my "ingredients:"

1 handsome hubby and friend/neighbor ("the handy fireman")
1 crazy decorator
3 kids
3 1x12s (that were cut by the nice folks at Home Depot down to 30" long)
2 long pieces of case molding of your choice
6 corbels of your choice
Miter Saw
Wood Glue
Finishing Nails
Zinsser Primer
150 sanding block
AS Old White chalk paint
AS clear wax
Hot Tub
Cocktail of your choice

First step was to convince handsome hubby and "the handy fireman" to take the cabinet down (oops, and, yes, folks you can see that I'm a lazy painter who never painted the inside of her cabinet doors):


While they did this, I set up shop in the garage with my supplies (having already primed my shelves). 


Once the cabinet was down, it looked like this (ugh):


I was worried that we were going to have to paint the entire 18' high wall all over again, but was pleasantly surprised that after my handsome hubby spackled and sanded, and I painted, you couldn't tell that we only painted the exposed dry wall (SW Ivoire)!


Now, the hardest part ... cutting the case molding, especially because I had never used a miter saw before!  After practicing on extra wood making the 45 degree cuts (and failing miserably), I decided to let the true *professionals* handle it ... kids rule!


Seriously, though, once I (and a neighbor) figured out which way to angle the saw in order for the corners to sit flush against one another, it went really smoothly (although, your arms will ache after you're done ... this is where the hot tub and a drink came in handy)!  LOL


After the cuts were made for each shelf, I simply added wood glue to the back of the longest piece of molding and pressed it against the front of the shelf.  While I held it, my hubby added five finishing nails.  We then did the same for each side piece (only adding three finishing nails to the side pieces).  

After that was complete, I added a fingertip full of spackle to each nail hole ... sanded after the spackle was dry and then painted the shelves with AS Old White chalk paint (propping each one up on various soup cans), followed by distressing and waxing.  I did the same to the corbels, as well:


After they were dry, it was time to hang them.  This was the second hardest part because I am OCD when it comes to measurements being exact (and I fail miserably getting said exact measurements on the first, second and even fifth *trys* (lol) ... that's when the frustation come into play.  In fact, I'm surprised that this picture isn't out of focus from my husband laughing at my use of "not so pleasant" language as he took the picture.  I ended up placing the corbels 7" apart.


After I mounted all of the corbels, I placed the shelves on top and added two flat head screws (one on each side towards the back, seated into the corbels) so that the shelves would sit firmly in place.  Once that was done, then came the fun part ... accessorizing!

Let's look back one more time ... BEFORE:


AFTER: Here is how they look today, with splashes of Easter added:


So, I leave you with this ... if there is a place ANYwhere in your home where you've wanted to add shelves or just a blank space and you're not sure *what* to add ... truly consider adding cafe shelves that you can build yourSELF.  If I can make them ... YOU can ... I promise (but, if you need to borrow my husband and/or Jax and his precious buddies, you may)!  LOL!  And, don't forget to check out Traci's tutorial (linked above)

Thanks for stopping by!